Mission Editor 01: Create / Edit mission
Notice: This guide is currently outdated and require adjustments in descriptions and screenshots.
From the "Mission Editor" menu you can create new missions for Easy Red 2.
By pressing New (1) you can create a new mission.
You will need to select the desired map. By selecting "CustomTerrain" you will have a maritime area available where you can place blocks of land and create your own map.
By pressing on a mission it will be possible to modify it, delete it or share it in the Steam Workshop.
User created missions (2) appear with their name and the map on which they are created. It is also possible to modify the missions downloaded from the Steam Workshop (4).
To download user created missions, just go to the Steam workshop, subscribe to the missions you like, and restart Easy Red 2.
You might need to accept Steam's Workshop agreement:
https://steamcommunity.com/workshop/workshoplegalagreement/
To remove these missions, simply unsubscribe from the mission from the Workshop. However, it is not possible to reload missions downloaded from the Workshop.
You can edit missions downloaded from the workshop, which will be created as local copies (3). However, if you are not the creator of the mission, you will not have permission to recharge it in the workshop.
Note: You can play created or downloaded missions from the "Campaigns" menu.
Mission Editor 02: Set up battle details
As soon as you start the Mission Editor, you will be faced with a screen like this:
By pressing the arrow at the bottom left you can open the battle configurations.
From here you can set most of the settings for your mission, including name, background music, forces in actions and so on.
You can also change weather, set up your custom squads, or create scripts to use to control phase, objectives or units.
By default, mission are divided into consequential or non-consequential phases (depending on the game mode).
Each mission phase involves having at least one team spawn and one mission objective.
Mission Editor 03: Placing Editor Objects
From the lower right corner of the screen it is possible to add new editor objects, such as props,
The buttons allow (from above):
• Add squad spawn. (for the current phase)
• Add vehicle spawn. (for the current phase)
• Add a mission objective (for the current phase)
• Add a building or prop (for all stages)
Let's start with the last button, the building and props menu
The buttons allow (from above):
• Add squad spawn. (for the current phase)
• Add vehicle spawn. (for the current phase)
• Add a mission objective (for the current phase)
• Add a building or prop (for all stages)
Let's start with the last button, the building and props menu
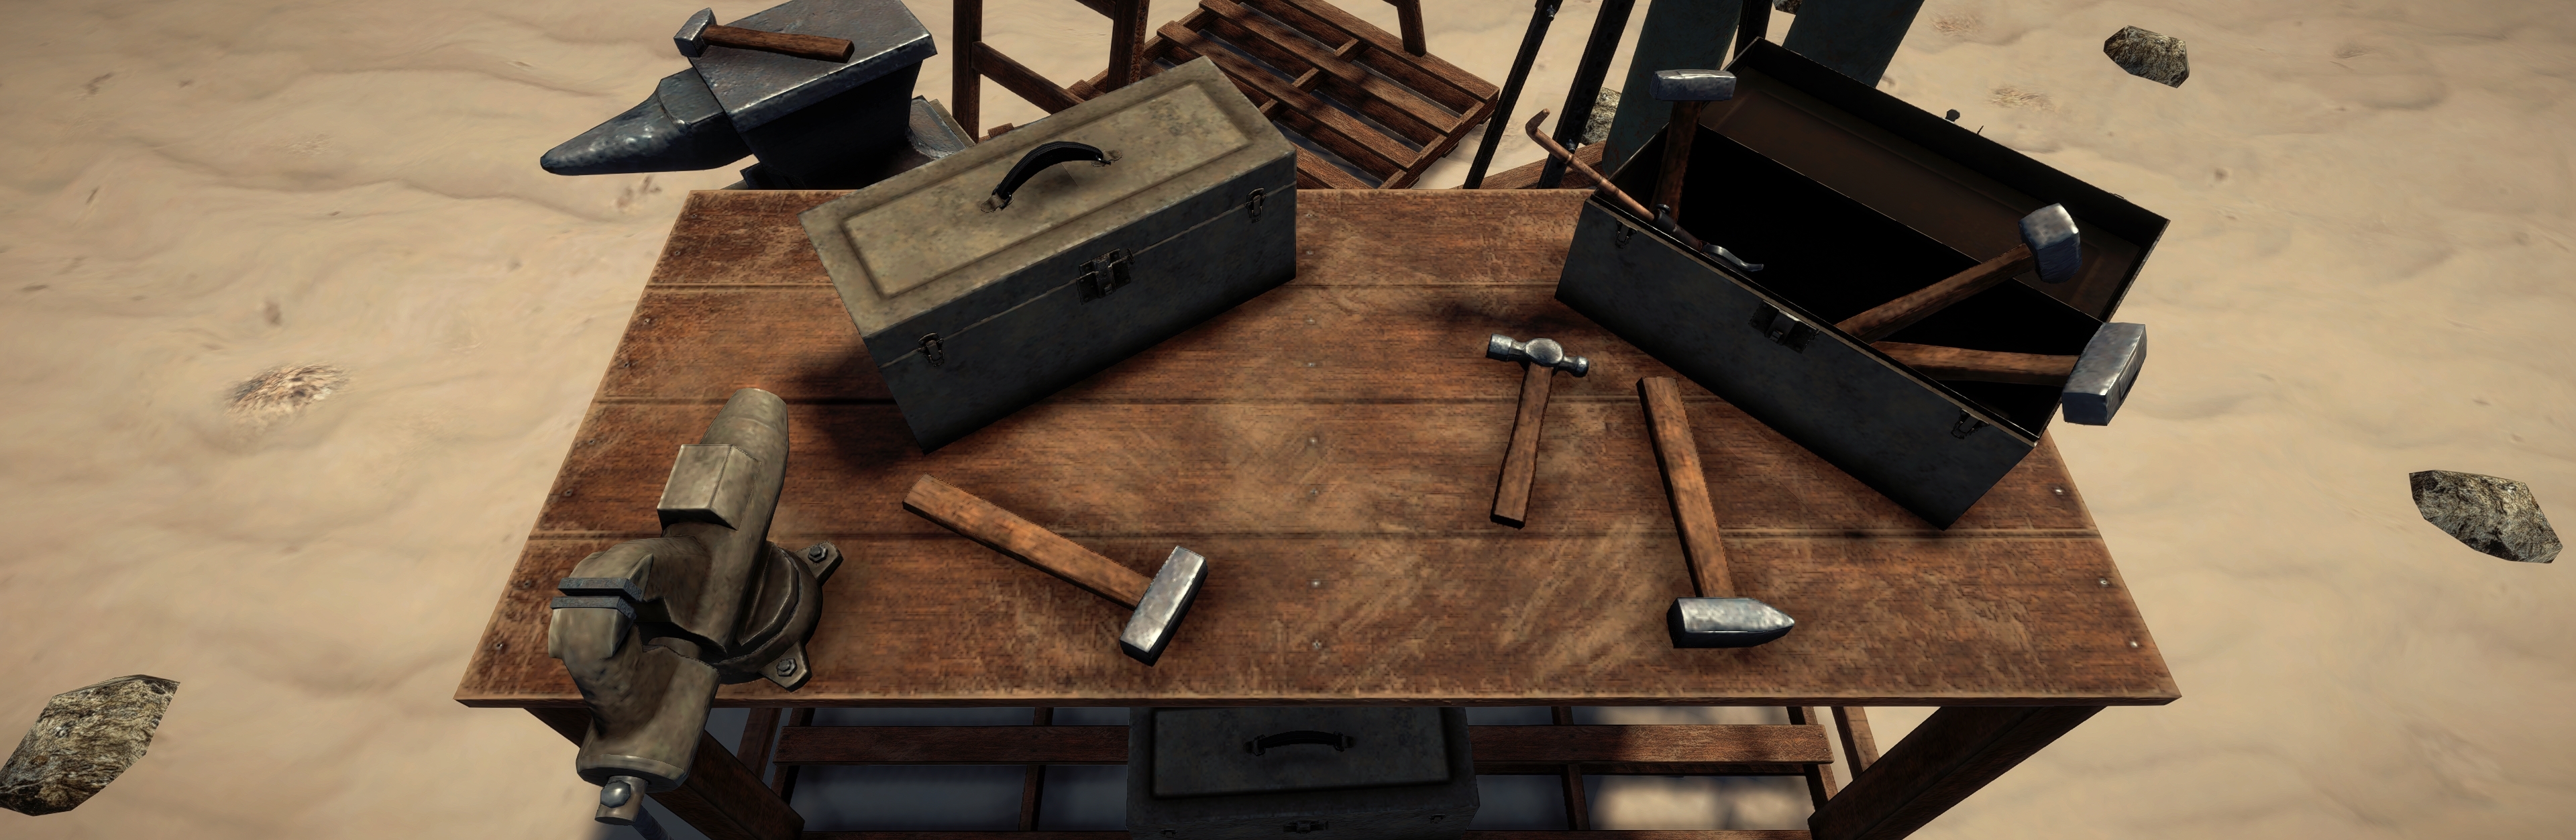
Adding Props
From this menu it is possible to select and place buildings, roads, vegetation and vehicles. Any items placed will be available from the start of the game.
Once you have selected an object, you can drag it onto the map and place it.
The keys to rotate, scale and elevate objects according to your keybinding settings are also shown on the screen.
Note: Holding Left Shift (basic configuration) will allow you to rotate / scale / elevate objects faster.
By holding down C (Standard configuration), you can only rotate objects 45 degrees at a time.
Once you have finished positioning the object, just press "Left mouse button".
You can also enter vehicles from this menu, which will appear at the start of the mission with no internal crew.
Adding Phase Objective
With the second button from the bottom it will be possible to add a phase objective, that is a mission objective that the units in the game will have to conquer or execute during the current selected phase.
Once conquered or lost, it will move on to the next or previous phase, activating other mission phase objectives.
For a mission objective it is possible to set the size of the radius and the time required to conquer a unit.
Once conquered or lost, it will move on to the next or previous phase, activating other mission phase objectives.
For a mission objective it is possible to set the size of the radius and the time required to conquer a unit.
Adding Vehicle Spawns
The button with a tank icon allows the addition of vehicle spawns.
A vehicle spawn is an object that, connected with a team spawn, allows you to insert vehicles with a crew into battle.
Unlike vehicles added via the props menu, these vehicles can therefore only appear when a team respawns on the spawn linked to this vehicle spawn. Vehicles can also respawn on this spawn once destroyed.
This means that for every contemporary vehicle you want in battle, you need to add a vehicle spawn for it.
The placement of the vehicle spawn is similar to that of the props or objectives, but instead of showing the placed object it only shows a generic preview.
For troop transport vehicles such as LCVPs, Trucks or Gliders, it is possible to assign a destination to reach to unload troops that spawn on this vehicle.
Adding Squad Spawns
The last button allows you to add team spawns.
Here different configurations can be applied including:
• Select the spawn faction (by clicking on the faction flag); Based on the selected faction, spawned units will speak a certain language, have certain names, and fight certain other factions.
• Select the type of spawn; That is who can use the spawn (The player, the AIs, both or none).
• Select drive loadout. This will also determine the size of the team.
• The size of the spawn area.
• The ability to spawn on a vehicle (you will then need to select the vehicle you want to use).
• The way units will spawn (Ai, player, once...)
• Eventual scripts to play on the soldiers spawn from here
Creating custom squads
It is also possible to add a custom squad to the squad spawn.
You can create a custom squad inside a mission from the squad menu on the right side of the screen.
You can create a custom squad inside a mission from the squad menu on the right side of the screen.
Mission Editor 04: Indirect artillery
In game it is possible to request indirect artillery support through the radioman.
To create an available indirect artillery, you must place an artillery of any type into play by placing it next to a radio.
With the radio close by, gunners will be able to receive and respond to artillery requests.
To create an available indirect artillery, you must place an artillery of any type into play by placing it next to a radio.
With the radio close by, gunners will be able to receive and respond to artillery requests.
Mission Editor 05: Mission phases and battle ending
To build a mission it is necessary to define the objectives, the spawns and how they follow each other.
This is why the mission is divided into "phases".
Each phase needs to have at least one team spawn and at least one active objective.
Once a first phase has been created, it will be possible to change the next phase. The battle always starts from the "Start phase".
Phases behave a little different based on the selected gamemode:
In "Operations" mode the Start Phase is always the first phase. In this mode, once the invaders have conquered the mission objectives, you move on to the next stage. The invaders win when they conquer the objectives of each stage.
Instead, they are lost when the available tickets set in the battle details run out.
In "Push The Frontline" mode, on the other hand, both factions can conquer the objectives. If the invaders conquer an objective, proceed to the next phase, if instead the defenders are the ones, proceed to the previous one. The team that wins all the objectives in a row wins. For this reason, in this type of mode it is strictly recommended to set a central phase of the mission as the Start Phase.
Once you have finished creating the mission, you can save it and play it.
Mission Editor 06: Add division patch
Notice: This is an optional step.
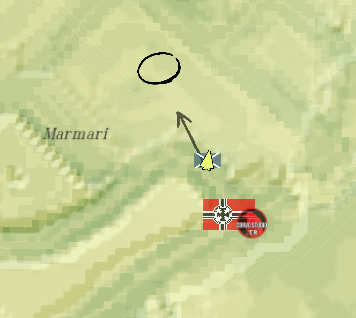
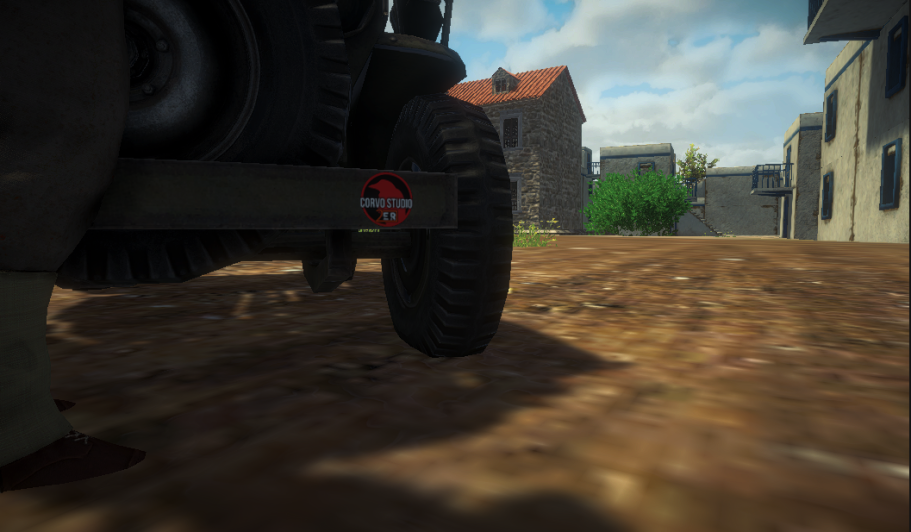
For both factions it is possible to automatically apply custom patch on uniform shoulders (when uniform supports it), vehicles (when vehicles supports it) and on mini map.
For both factions it is possible to automatically apply custom patch on uniform shoulders (when uniform supports it), vehicles (when vehicles supports it) and on mini map.
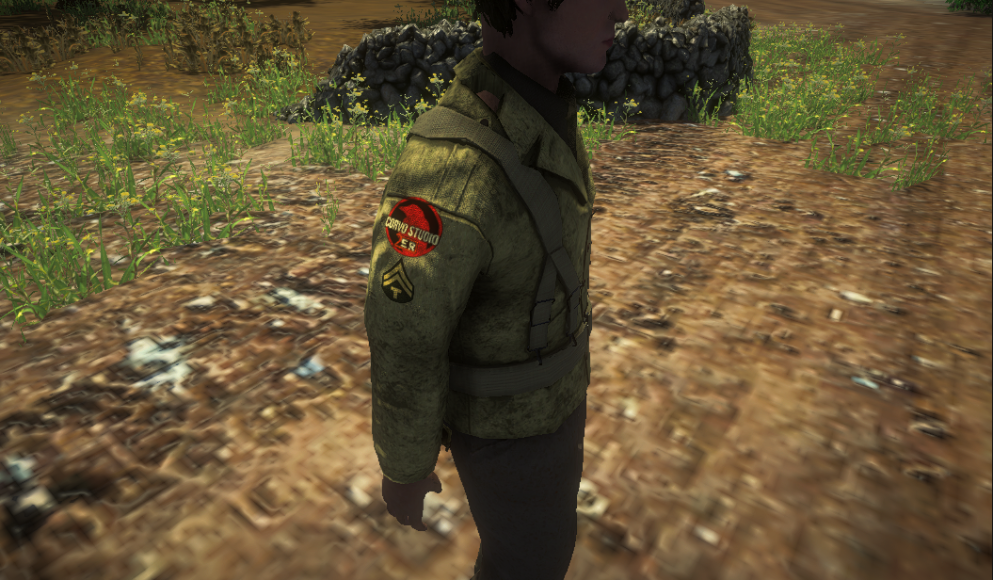
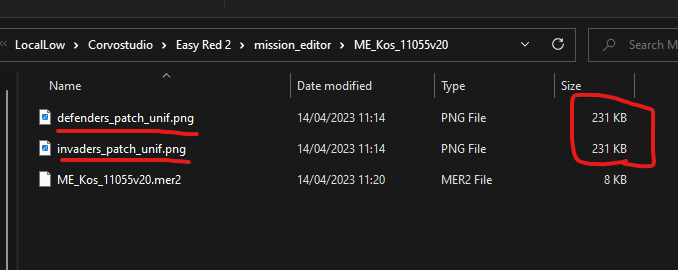
To do so, simply place the patch images as png file in the mission folder with the names "defenders_patch_unif.png" and "invaders_patch_unif.png". Make sure the files are small in size, and the image resolution shouldn't be larger that 256x256 (if bigger it will be rescaled so bigger images would be a waste of space).
It is suggested to use an image of the exact size of 256x256 pixels to ensure best quality and avoid blurring due to automatic rescale of the image.
It is suggested to use an image of the exact size of 256x256 pixels to ensure best quality and avoid blurring due to automatic rescale of the image.
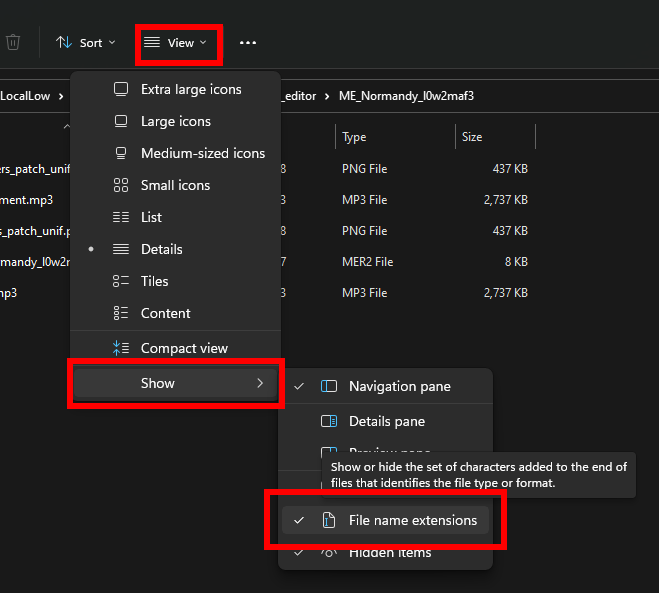
Notice: Make sure to enable "File name extension" in windows file manager, otherwise you won't be able to check if the file format is the correct one.

Mission Editor 07: Custom music & environment sound
Notice: This is an optional step.
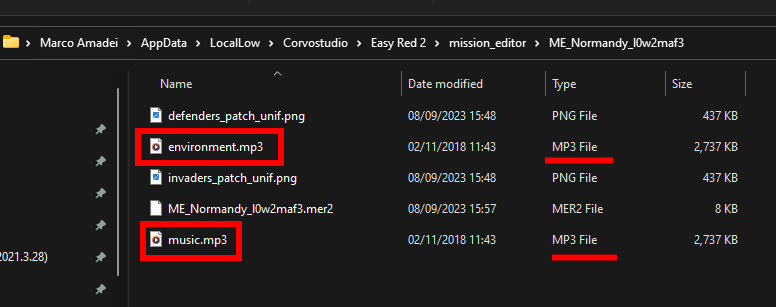
Similarly to faction patches, it's possible to add custom music and custom environment sounds to your mission.
To do so, sImply place the sound clips image as mp3 file in the mission folder with the names "music.mp3" and "environment.mp3".
Make sure the files are small in size.
It is suggested to use a file smaller than 4mb to ensure quick upload and download of the mission from the Workshop.
Notice: Make sure to enable "File name extension" in windows file manager, otherwise you won't be able to check if the file format is the correct one.
Mission Editor 08: Localize Mission name & Personalize Intro
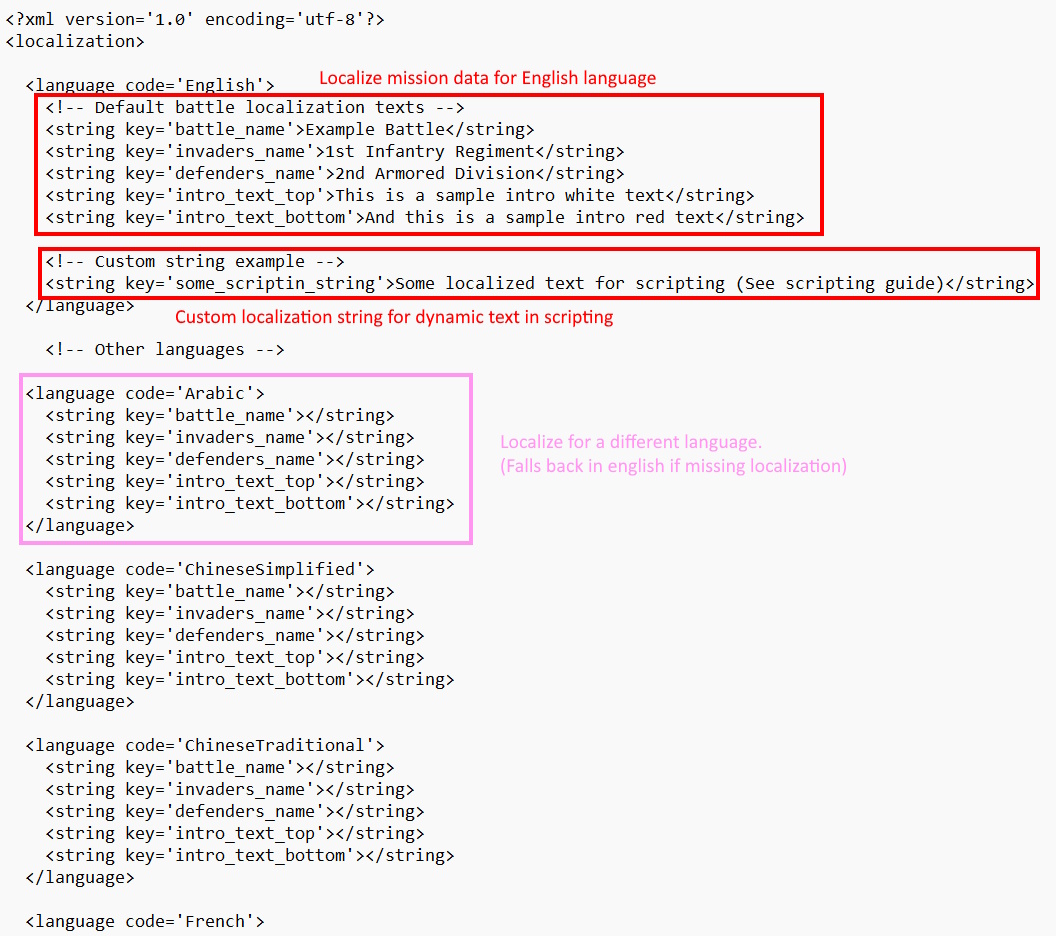
It is possible to personalize mission Intro and localize mission name and batalion names using the localization file.
It is also possible to create a localization file from the Mission Editor Scripting Menu.
It is also possible to create a localization file from the Mission Editor Scripting Menu.
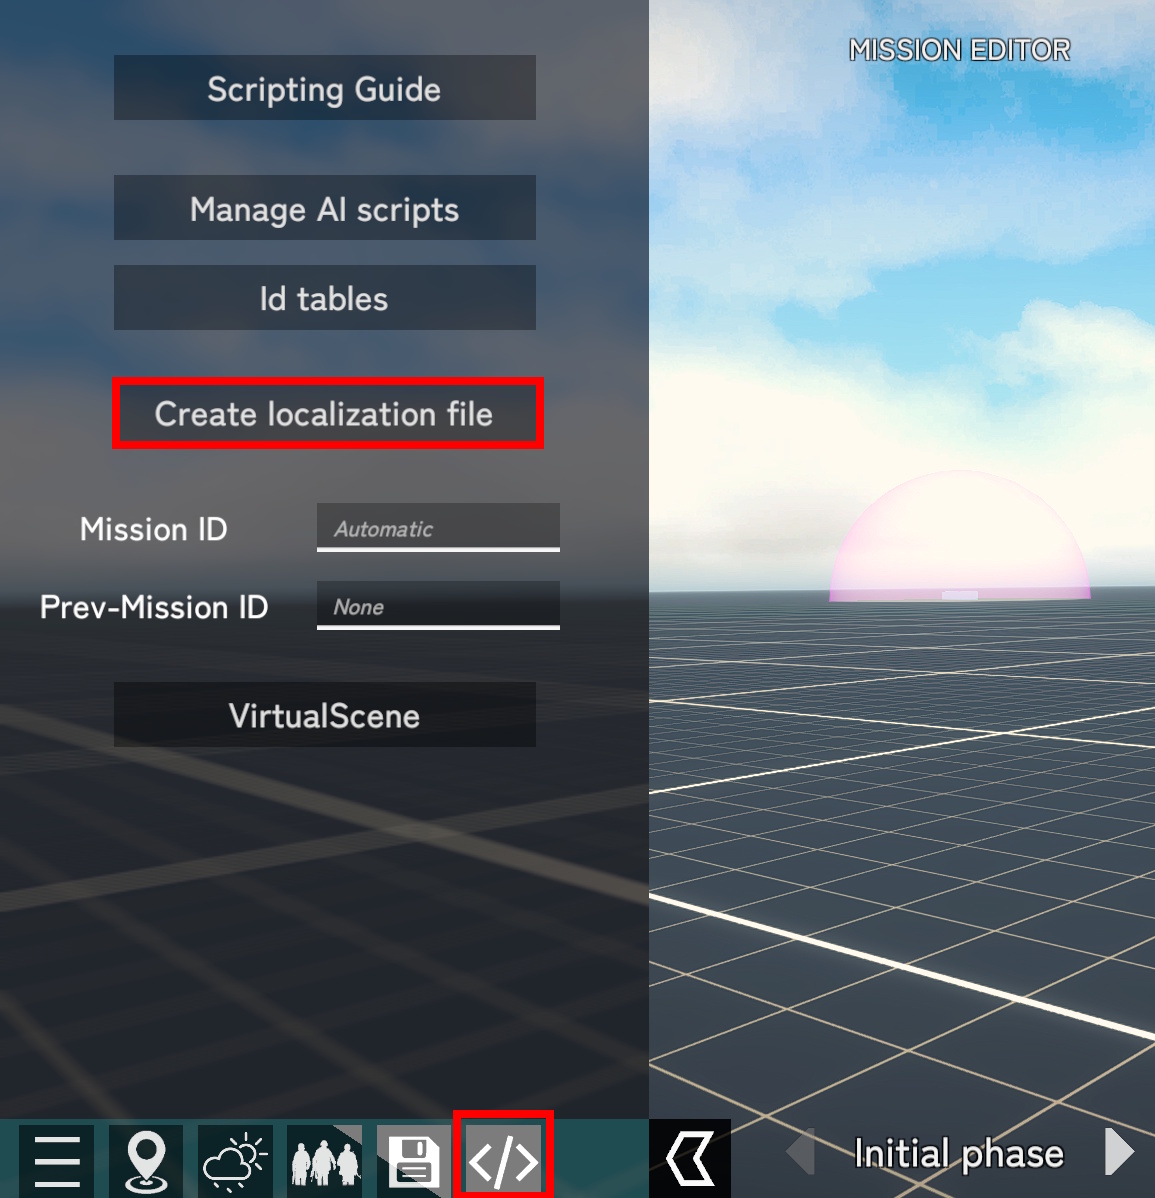
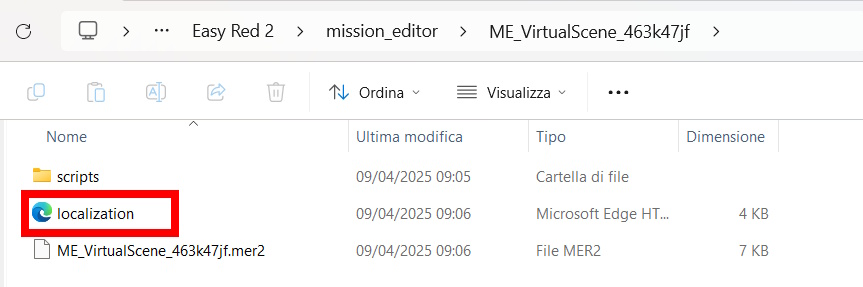
The localization file will be created inside the mission folder. It is possible to open it with a text processor such as Notepad, Sublime Text or Visual Studio.
Inside the mission file you can fill the empty tags with the custom text you want. This will override the hardcoded mission name and batalion name text in the Mission File.
You can also localize mission intro and create custom entries for localized string to use with scripting (See scripting guide: https://easyred2.com/wiki/scripting.php).
You can localize the texts on any of the default Languages provided in the localization file template. If a language miss a localization, the text will fall back to English version.
Mission Editor 09: Share to Workshop
Congratulations, you just created your first mission. The time has come to allow anyone to play it.
To do this, go back to the "Mission Editor" menu, select the battle you just created, and click on "Share".
From here you can open the folder where the mission resides and insert an image called 'cover.jpg' as a preview of your mission that will be bought in the Steam Workshop. 1200x1200px square image is recommended.
Adding the cover image is however optional.
Notice: If the mission you created is set on a custom map, you will have first to:
• Upload the map to the workshop.
• Tie the mission to the workshop version of the map.
To upload the map on the workshop, first go to "edit map " section, then select your local map and press "share".
Then you have to make sure that your mission takes place on the workshop version of the map you just uploaded. To do so, go back to edit section of your custom mission and click "change tied map". There you will be able to choose a map between all of your maps you are subscribed to in the workshop.
When you are ready you can finally click on "upload" and make your mission public.
Whenever you want to update it, just repeat this operation.
Remember that only missions created by you can be uploaded to the Workshop.